

Crown Molding
Modern, Craftsman & Various Styles at Great Prices!
Your home reflects your personality. From the colors you choose to paint your walls to the furniture filling your rooms, it’s a physical display of your interests and style preferences. Despite your careful selection of each detail, some rooms may still feel unfinished. That’s where crown molding comes into play.
Builders Surplus offers an extensive array of crown molding styles, from simple to ornate, to bring your project together! What are you waiting for? Come browse our diverse collection today!
Enhance Ceilings, Cabinets & Interiors with High-Quality Wood Crown Molding – Expert Installation Tips & Affordable Options at Builders Surplus!
So, what is crown molding? It’s an elegant type of millwork, or trim, used to enhance the interior of a home, especially at the transition between walls, cabinets, and ceilings. Molding adds eye-catching architectural details and a polished look to any room. Crown molding installations can be completed using wood, medium-density fiberboard (MDF), polyvinyl chloride (PVC), or plaster, and are available in a range of styles, from simple to ornate, giving you the power to choose the perfect design for your home.
Types of Crown Molding and Applications
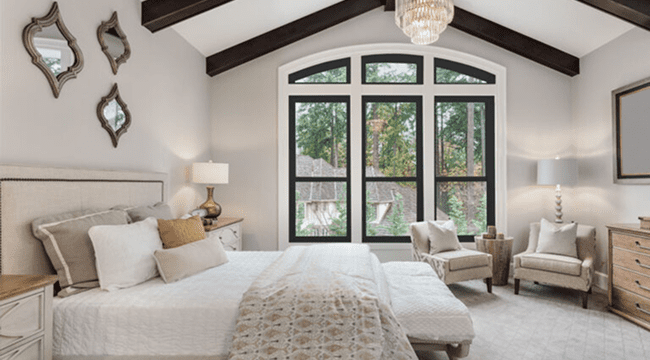
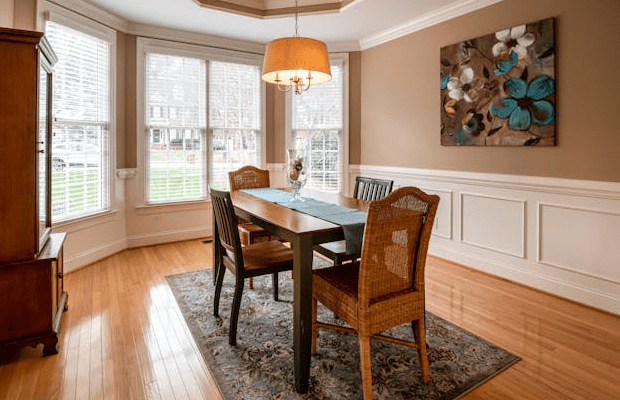
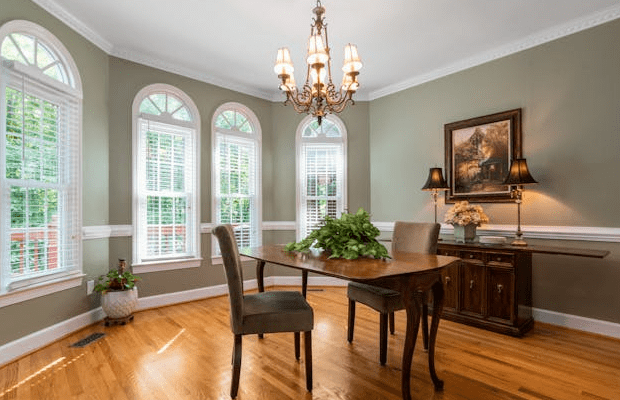
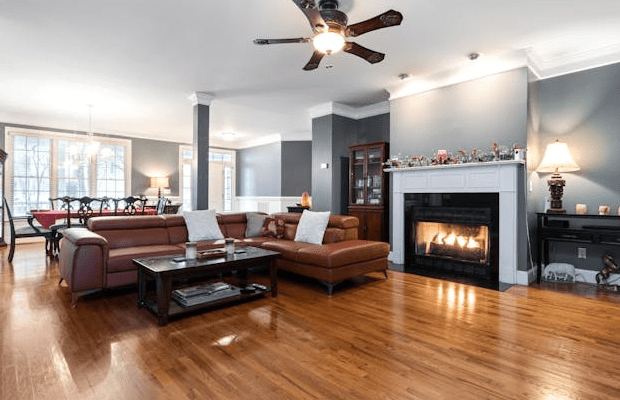
Crown molding is decorative trim usually installed where cabinets, entryways, mantels, and bookshelves meet the ceiling. This millwork can also be made from rubber/flex, styrofoam, or peel-and-stick materials. Whether traditional with intricate designs or modern with sleek lines, crown molding for ceilings can enhance spaces like dining rooms, living rooms, bedrooms, and kitchens. At Builders Surplus, we offer various options of molding in both wood and plaster.
Crown molding is a popular way to enhance certain features of a room. However, it can look outdated if paired with the wrong style of home. When exploring different types of crown molding and trying to choose the best look for your space, consider whether it will be in one room or throughout your entire home. Think about the overall vibe of your space: is it more modern or traditional?


Modern Flat Crown Molding
If you prefer simple, sleek styles, minimalist crown molding is the best choice. Also called modern crown molding, this type of millwork is the least decorative of all. Compared to the ornate look of traditional molding, it’s straight and clean. This molding works well in more modern spaces, which often feature clean, streamlined furniture.
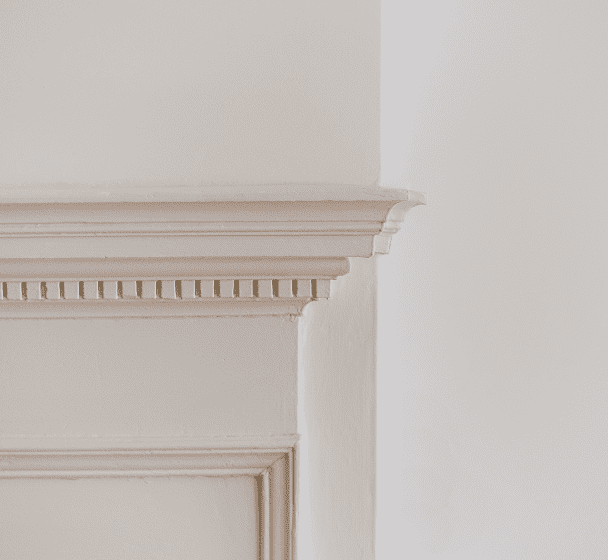
Craftsman Crown Molding
Craftsman crown molding, with its classic, elegant look, is probably what you picture when you think of molding. Similar to modern styles, it emphasizes simple details and practicality. This wood crown molding beautifully complements traditional homes, adding a cozy, inviting feel to any room and looking especially good when used around bookshelves, framing windows and doors, and mantels.
Cabinet Crown Molding
Mainly used in kitchens, dining rooms, bathrooms, or wherever there are built-in cabinets, crown molding is attached where the ceiling and cabinets meet. Cabinet molding does more than add elegance; it ensures proper spacing, alignment, and hides flaws. From decorative to functional in a kitchen, crown molding looks great!
Crown Molding with LED Lights
For a choice that elevates your space, consider crown molding with LED lights. Installed under your cabinet or along your ceiling, LED molding helps you avoid the eyesore that some traditional lights create in a room. LED molding is the perfect modern accent for ambient lighting in any room!
Crown Molding Installation
If you’re looking to add a little oompf to your home without breaking the bank, crown molding may just be the answer. To install crown molding, you’ll need to gather a few tools, including a tape measure, stud finder, saw, carpenter’s pencil, and finishing nails. Other than the molding itself, you’ll also want at least one stepladder, caulk gun, paintable caulk, painters’ tape, paintbrush, paint primer, etc. Once you’ve gathered the supplies, you’re ready to get started.
Here’s a step-by-step guide to help you through the process.
Measure and mark
Measure the wall from corner to corner, then draw a light line where the bottom will sit and record your measurement to use later. Next, use a stud finder to locate the studs and make light pencil marks high on the wall to guide you as you nail.
Set up the saw
Set the saw to cut at 45 degrees in the general direction of the needed angle, ensuring the ceiling edge is snugly flat on the bottom of the miter box. If the blade and cut line don’t align, try turning the molding upside down and cutting again. Cut close to the end.
Cut the molding
Lay out the cope joint on a second piece of molding, starting with a piece that’s a few inches longer than the finished length. Flex it into place. At the end of the molding that you will cope, draw a line in the direction you will cut. Cut at roughly a 45-degree angle.

Test the molding
Tilt the coping saw back at a 45-degree angle to create a razor-thin edge where the two mouldings will meet. The mouldings should overlap flat. Check the joint by fitting it against a cutoff. Adjust the joint until it fits tightly.
Position the molding
Take another measurement of the wall, then cut the molding 1/8 inch longer than the measurement. Make a square cut on the uncoped end of the crown molding and bend it into place. Secure the molding to the wall and ceiling using nails or glue.
Why Choose Builders Surplus?
At Builders Surplus, we offer a wide variety of high-quality renovation materials, not just simple crown molding, at discounted prices. Need tools? Browse our remodeling supplies and explore flooring options to finish your remodel. With such a vast inventory, you’ll always find what you need, whether it be in-store, online, or through a customized order with assistance from our friendly staff.

What Our Clients Are Saying

Builders Surplus…
You have many options to consider when choosing crown molding, giving you a great chance to showcase your personal style. If you’re unsure about trim profiles or selecting the proper size, contact our team of experts. For assistance with installing crown molding, call Builders Surplus.
Contact Builders Surplus today for all your renovation needs
Located at 119 Hancock Ave in Gainesville, Georgia.
Call (770) 534-5473, or email builderssurplusgainesville@gmail.com for more information.

For Top-Quality Molding, Call Builders Surplus
Head to Builders Surplus for discounted materials when it’s time to replace your crown molding. Our team is ready and willing to provide unrivaled customer service and prices. With wholesale molding from our store, you can increase your home’s curb appeal and keep money in your pocket.